
Upload your files to 115.com

In the modern world, cloud storage has transformed how we manage and safeguard our data. Platforms like 115.com have emerged as reliable solutions for storing files securely online. 115.com is a popular cloud storage service in China, offering features like massive storage space, fast file uploads, and advanced sharing options. It’s designed to cater to both individual users and businesses, making it a versatile choice for those looking to back up important documents, media files, and other data.
Using the cloud to save files has never been more essential. The ability to access your files anytime, anywhere, and from any device makes cloud storage indispensable in today’s connected world. However, managing uploads and transfers across platforms can sometimes be tedious—this is where tools like Air Explorer come in.
Air Explorer is a user-friendly application that allows you to upload files to services like 115.com efficiently. By centralizing access to multiple cloud accounts, it simplifies file management and streamlines uploading, ensuring you save time and maximize productivity. Let’s explore how to make the most of 115.com with the help of Air Explorer.
Here are the detailed steps you need to follow to start working with 115.com in Air Explorer. This process will guide you through connecting your 115.com account, managing your cloud files, and making the most of Air Explorer’s features:
Step 1: Download and install Air Explorer
Begin by visiting the official website of Air Explorer to download the application. Follow the provided instructions to install it on your computer. Once the installation is complete, open Air Explorer to get started.
Step 2: Launch Air Explorer and add your 115.com account
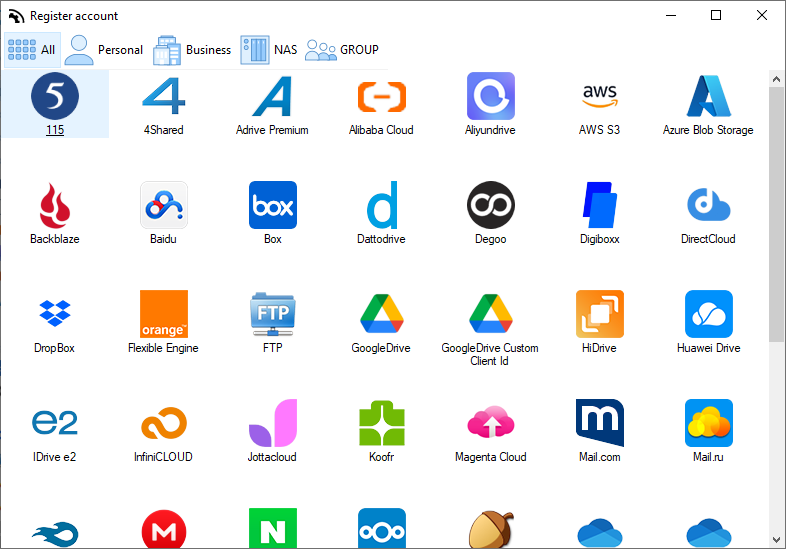
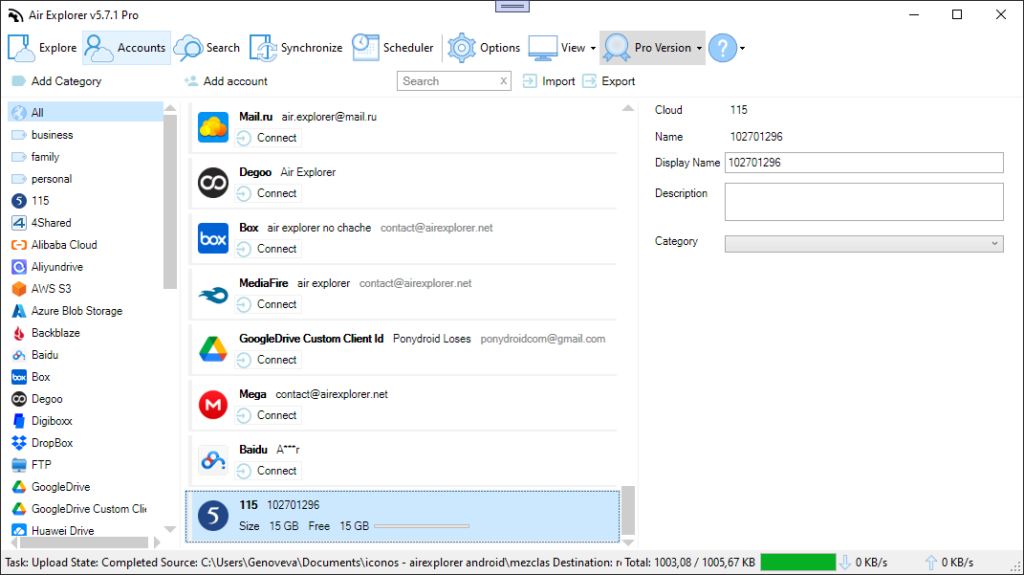
After launching Air Explorer, locate the Accounts section in the toolbar. From there, you’ll see a list of supported cloud storage services. Select 115.com from the options. To link your 115.com account, enter your login credentials (your username and password). Air Explorer will securely connect your 115.com account, giving you centralized access to your cloud storage.
Step 3: Explore and manage your files
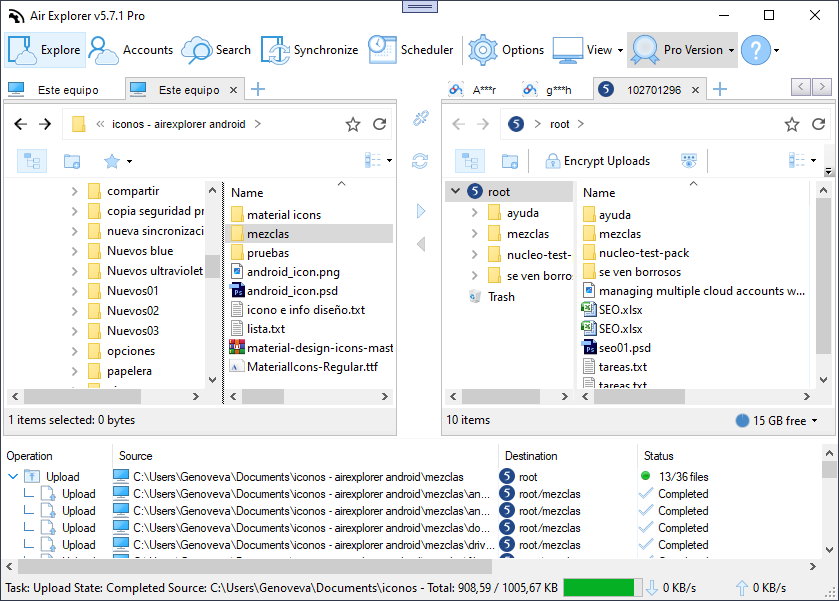
Once the connection is established, your 115.com account will appear in the file management interface of Air Explorer. You can now explore your cloud storage, manage your folders, and access your stored files. You’ll have the convenience of handling all your data in one place.
Step 4: Upload files to your 115.com storage
To start uploading files, simply select the files or folders from your local device that you want to store in your 115.com cloud account. Drag and drop them into the 115.com panel within Air Explorer. If you need to keep files synchronized across devices or accounts, Air Explorer also offers a sync feature to mirror your files automatically.
Step 5: Automate tasks and save time
Air Explorer has a task scheduling tool that allows you to automate various operations, such as regularly backing up specific folders to your 115.com cloud account. Use this feature to reduce manual tasks and ensure your important data is always securely backed up.
Step 6: Transfer files across cloud accounts
If you’re using multiple cloud storage services besides 115.com, Air Explorer allows you to transfer files directly between accounts. This feature is particularly useful for users managing data across different platforms.
By following these steps, you can efficiently set up and start working with 115.com through Air Explorer. This powerful application will streamline your file management process and help you stay organized while saving time and effort.
