
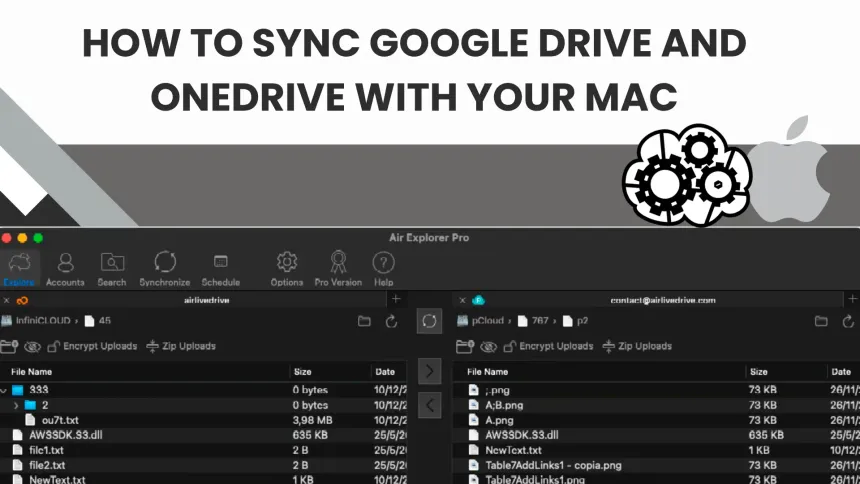
Using Google Drive and OneDrive together is common when you collaborate with different teams, manage personal and business accounts, or share documents with clients. Keeping your Mac folders updated in both clouds, however, can become repetitive. Copying files manually, checking versions, and repeating transfers takes time away from your work.
Air Explorer is available for both Mac and Windows and lets you manage your cloud storage accounts in one application. This guide focuses on Air Explorer for Mac: how to sync a local folder with Google Drive and OneDrive, save each configuration, and automate the operations with its built-in task scheduler.
Connect Google Drive and OneDrive to Air Explorer
Start by adding the accounts you want to use. Open Air Explorer for Mac, go to account management, and select Google Drive. Sign in and authorize access by following the provider’s instructions. Then repeat the process for OneDrive.
Once connected, you can browse both accounts within Air Explorer. If you use several accounts from the same provider, check which account you have selected before configuring synchronization.
For this example, we will use a local folder named “Projects” and two destination folders: one in Google Drive and another in OneDrive. The Mac will be the source of the documents, and each cloud will receive updates through a separate synchronization configuration.
Select your Mac folder and the first destination
Use the dual-pane interface to open the local “Projects” folder on one side and the Google Drive folder on the other. Select the synchronization feature and confirm the direction of the operations.
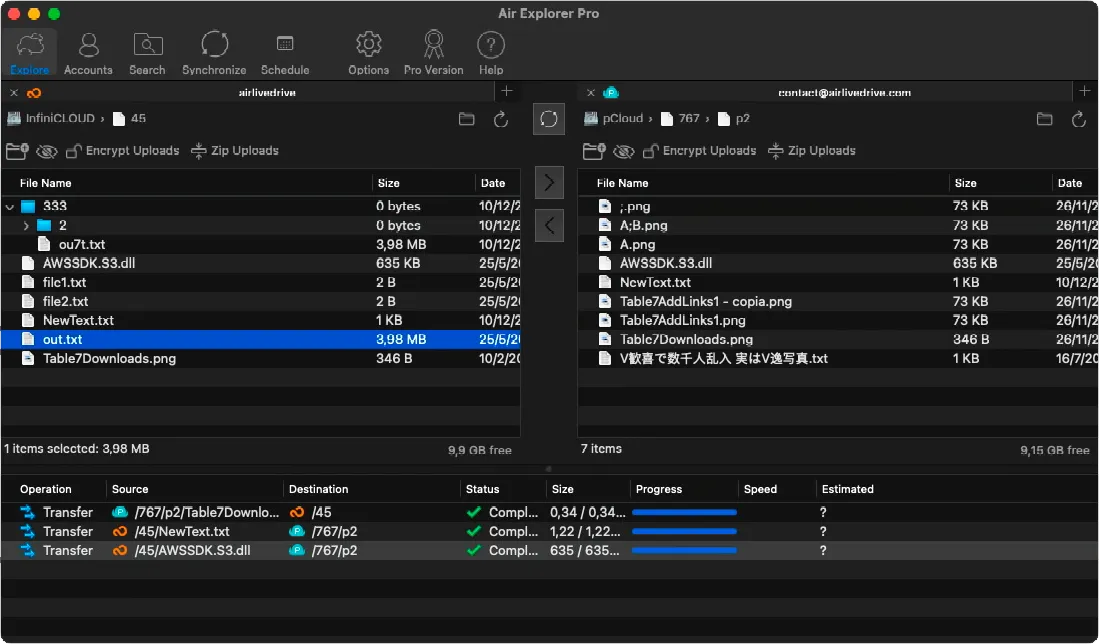
Before continuing, review the folder structure and check the available space in the destination account. Selecting a specific folder makes it easier to control which files are synchronized and helps you avoid including unrelated documents.
If you have not organized your files yet, group them by client, project, or activity. A straightforward folder structure will also make your scheduled tasks easier to identify as you add more synchronization routines.
Choose the right synchronization mode
Air Explorer provides different synchronization modes depending on how you want to maintain your files:
- Update: copies new or changed files from the source to the destination while preserving additional files already stored in the destination.
- Mirror: makes the destination reflect the source. Review any proposed deletions before running the operation.
- Mirror Update: updates destination files when the source version is newer, avoiding replacement with older versions.
- Bidirectional: synchronizes changes in both directions when you work in the local folder and the cloud folder.
- Customized: lets you define your own rules for handling differences, deletions, and conflicts between the two folders.
For our example, update mode may be suitable if you edit documents on your Mac and want an updated copy in each cloud service.
If you also edit files in the cloud, consider bidirectional synchronization and review how differences will be handled. When connecting the same local folder to two services, avoid editing the same document simultaneously in several locations and check the results of each task.
Compare files and save your settings
Run a comparison before starting synchronization. Review which files will be copied, which will be updated, and whether the configuration includes deletions. Pay particular attention to documents that already exist in both locations with different versions.
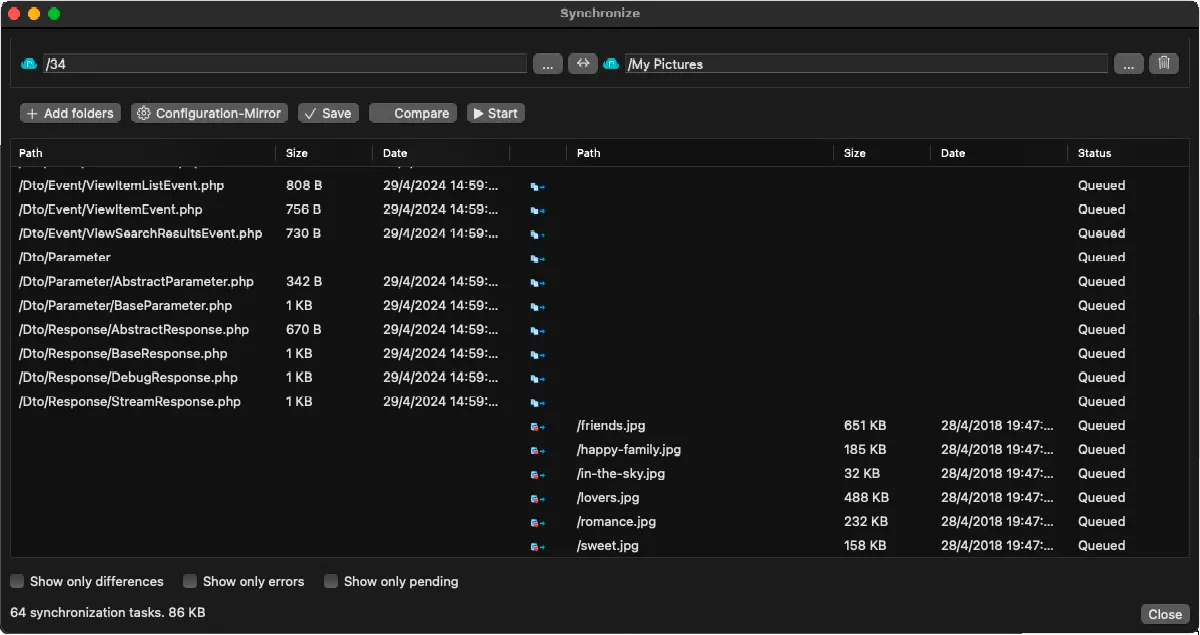
You can also add filters to exclude temporary files or include selected document types. This keeps the task focused on the content you actually need to maintain across locations.
Start with a small test and inspect the result in Google Drive. Once the settings work as expected, save the synchronization with a descriptive name, such as “Projects Mac to Google Drive”.
Repeat the process with your OneDrive folder as the destination and save a second configuration named “Projects Mac to OneDrive”. You now have two independent synchronization routines for the same local folder.
Schedule tasks in Air Explorer for Mac
Open the built-in Air Explorer for Mac task scheduler and add a task. Select the saved Google Drive synchronization and set its execution schedule. Then create another task for the OneDrive synchronization.
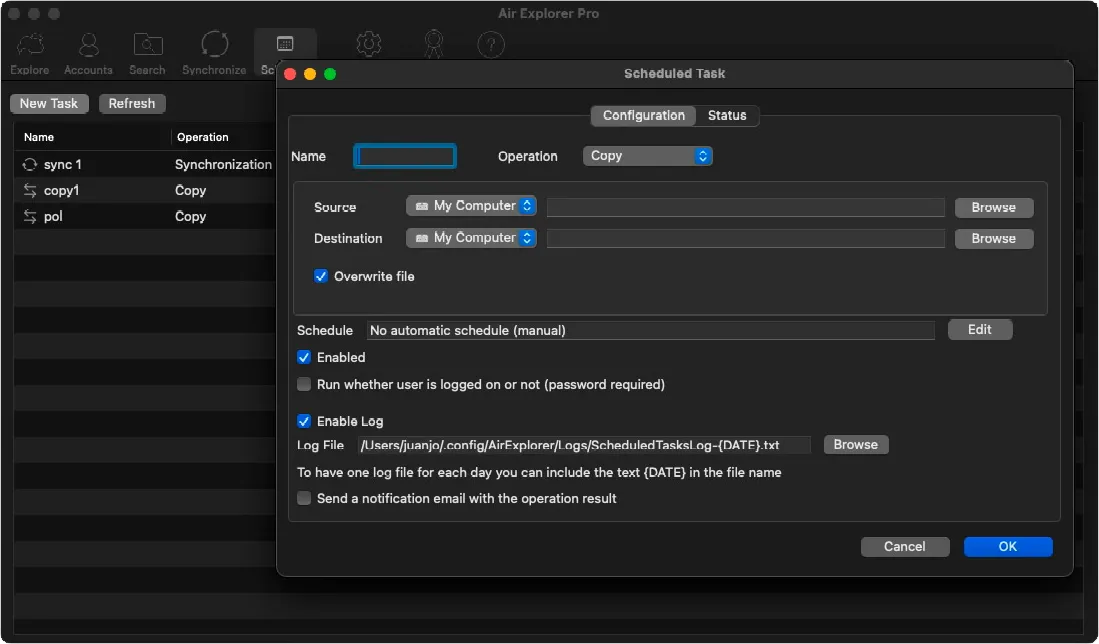
Choose a frequency that matches your activity. A daily schedule may suit documents that change regularly, while a weekly schedule may be sufficient for folders you update less often. Assigning different times to the two tasks can help distribute transfers and make their results easier to track.
Schedule the operations for times when your Mac is powered on, available, and connected to the internet. Before relying on automatic execution, run each task manually and confirm that it uses the correct folders, direction, and filters.
Review reports and maintain your workflow
After the tasks run, inspect their reports in the scheduler and check a few files in each destination. If you change a folder or account, update the saved configuration and test it again before the next scheduled run.
Remember that synchronization does not replace a backup strategy. Some modes can propagate changes or deletions. If you need to recover previous versions, complement this workflow with a suitable backup system.
Download Air Explorer for Mac or Windows and configure your synchronization tasks to keep Google Drive and OneDrive updated with the files on your Mac.