
Save and sync files to TeraBox
In today’s digital age, managing and safeguarding data is more crucial than ever. Cloud storage has become an essential tool for individuals and businesses alike, offering a secure, accessible, and scalable solution for storing vast amounts of data. By using cloud storage, users can effortlessly back up important files, share documents with colleagues, and access their data from any device, anywhere in the world.
What is Terabox? Key features and benefits.
One standout cloud storage service is TeraBox. This platform offers significant advantages for those looking to store their files efficiently. With Terabox, users benefit from:
- Generous storage capacity: Whether you’re an individual with vast amounts of personal files or a business handling a plethora of documents and media, TeraBox provides ample space. It can accommodate all your data needs. With options for both free and premium plans, users can access substantial storage without worrying about hitting limits quickly. This flexibility ensures that you have enough room to store high-resolution photos, videos, and large project files. You won’t need to constantly manage and delete items to free up space.
- Robust security features: When it comes to storing important data, security is paramount. TeraBox supports two-factor authentication. This feature requires users to verify their identity through a secondary method (like a text message or authentication app) in addition to their password.
- Seamless file-sharingcapabilities: TeraBox makes file sharing simple and efficient, whether you’re collaborating with colleagues, sharing memories with family, or distributing documents to clients. Creating shareable links for any file or folder, allow others to access the content with ease. You can customize permissions, such as read-only access or edit capabilities, to control how recipients interact with the shared files.
The importance of saving files in Terabox lies in its ability to provide a reliable and convenient storage solution that ensures data remains safe, organized, and easily retrievable.
Work with Terabox in Air Explorer
To further enhance the experience of saving and managing files in Terabox, Air Explorer serves as an invaluable tool. Air Explorer is a versatile file management software that allows users to connect to multiple cloud storage services simultaneously, including TeraBox. By integrating Air Explorer with Terabox, users can streamline their file transfer processes, sync data effortlessly, and enjoy a more organized and efficient cloud storage experience.
To begin working with Terabox in Air Explorer, you need to set up both Air Explorer and TeraBox. Follow these steps to get started:
1: Downloading and installing Air Explorer
- Visit the Air Explorer website: Go to the official Air Explorer website.
- Download the software: Find the download link for your operating system (Windows or macOS). Click to download the installation file.
- Install Air Explorer: Once the download is complete, open the installation file and follow the on-screen instructions to install Air Explorer on your computer.
2: Creating a Terabox account
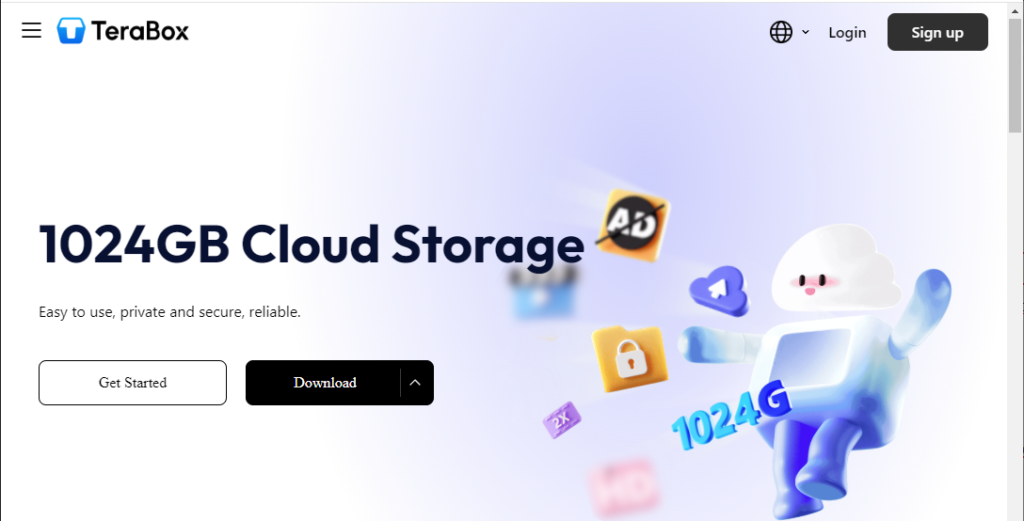
- Visit the Terabox website: Go to the official TeraBox website.
- Sign up for an account: Click on the “Sign Up” button and provide the required information (email address, password, etc.) to create a new TeraBox account. Alternatively, you can sign up using your Google or Facebook account.
- Verify your email: Check your email inbox for a verification email from TeraBox. Follow the instructions to verify your account.
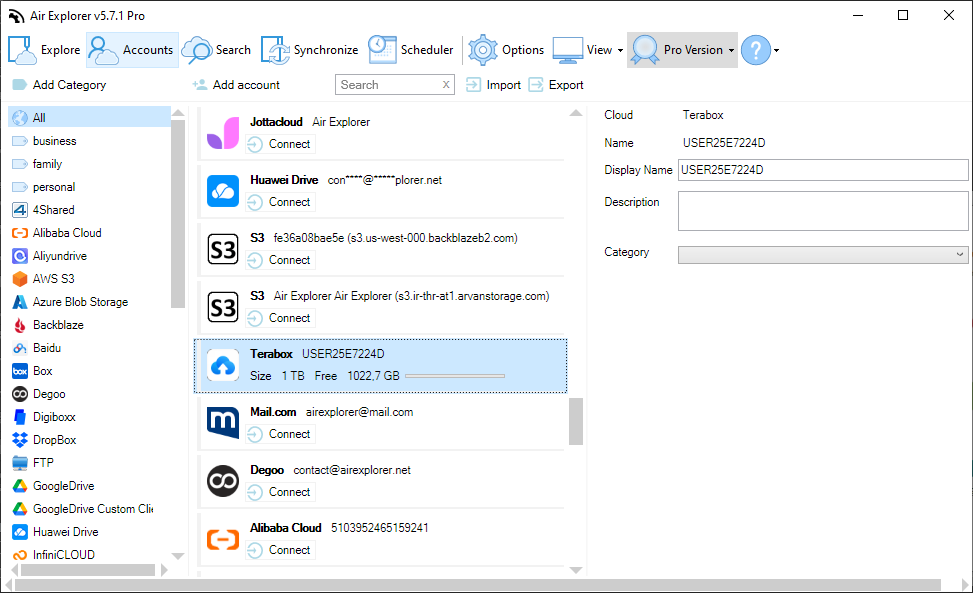
3:Adding Terabox to Air Explorer
- Open Air Explorer: Launch the Air Explorer application on your computer.
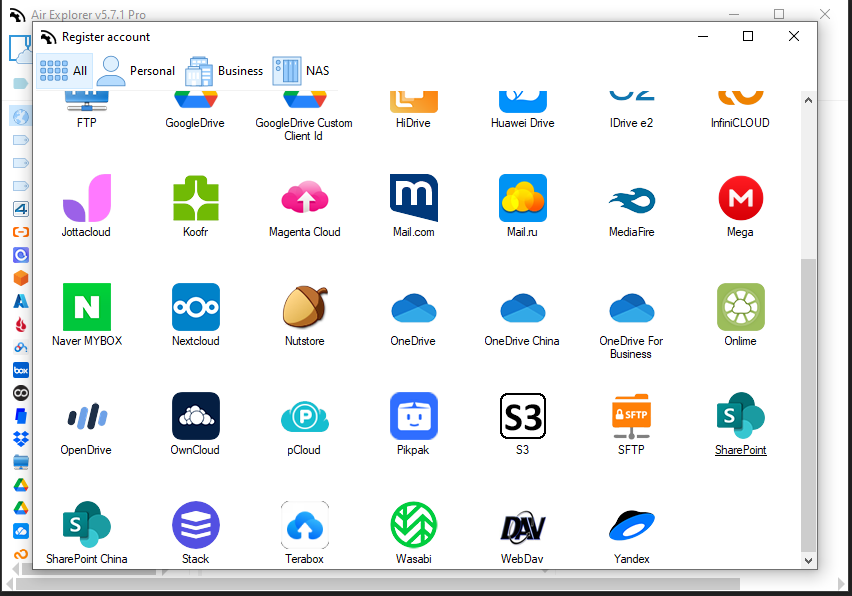
- Add a new cloud account: Click on the “Accounts” tab in the top menu. Then select “Add account” to add a new cloud account.
- Select Terabox: From the icon list of available cloud storage services, choose TeraBox.
- Log in to TeraBox: A login window will appear. Enter your Terabox account credentials (email and password) and click “Log in” to connect your Terabox account to Air Explorer.
- Authorize access: You may be prompted to authorize Air Explorer to access your TeraBox account. Click “Allow” to grant the necessary permissions.
Once you’ve set up Air Explorer and connected it to your TeraBox account, you can upload files directly to the cloud. With Air Explorer, transferring files is as simple as dragging and dropping them from your PC to Terabox. Additionally, you can create synchronization tasks to automatically upload files to the cloud. These synchronization tasks can be scheduled to run regularly, ensuring your files are always up to date, thanks to the Schedule tool in Air Explorer. This feature allows you to automate your file management process and maintain organized cloud storage without manual intervention.
Conclusion
Air Explorer and TeraBox together offer a powerful solution to achieve this. By leveraging TeraBox’s generous storage capacity, robust security features, and seamless file-sharing capabilities, users can enjoy a reliable cloud storage experience. Integrating Air Explorer enhances this experience by allowing users to effortlessly upload, manage, and synchronize files across devices and cloud platforms. The ability to schedule regular synchronizations ensures that your data remains up to date and organized without manual intervention. Embrace the convenience and security of cloud storage by using Air Explorer and TeraBox to streamline your file management processes and keep your valuable data safe and accessible at all times. This combination not only simplifies your workflow but also provides peace of mind knowing your files are consistently backed up and synchronized.
You can check more information here:
-Google Drive vs Azure
-Digiboxx backup tool
-Azure Blob Storage file management tool
